Cheesy Hatch Chile Rellenos
Delight your taste buds with this scrumptious Cheesy Hatch Chile Rellenos recipe! Perfect for gatherings, family dinners, or a special treat, these stuffed chiles offer a delightful blend of flavors and textures that are sure to impress. The combination of roasted hatch chiles filled with gooey cheese creates a comforting dish that is both satisfying and memorable.
Why You’ll Love This Recipe
- Flavorful Experience – The smokiness of roasted hatch chiles combined with melted cheese delivers a burst of flavor in every bite.
- Versatile Dish – Serve it as an appetizer, main course, or party snack; these chiles fit any occasion perfectly.
- Easy to Make – With straightforward steps, even novice cooks can achieve delicious results without stress.
- Customizable Options – Add your favorite toppings or spice levels to cater to your taste preferences and those of your guests.
- Fresh Ingredients – Using fresh chiles and homemade sauce ensures a vibrant taste that outshines store-bought alternatives.
Tools and Preparation
Preparing Cheesy Hatch Chile Rellenos is simple when you have the right tools on hand. Gather these essentials to make your cooking process smooth and efficient.
Essential Tools and Equipment
- Baking sheet
- Gallon-sized ziplock bag
- Mixing bowls
- Blender
- Deep pan for frying
- Tongs
Importance of Each Tool
- Baking sheet – Ideal for broiling the chiles evenly without mess.
- Blender – Ensures a smooth sauce that enhances the flavor profile of the dish.
- Deep pan for frying – Allows for adequate oil depth for frying, ensuring crispy results.

Ingredients
For the Chiles
- 8 hatch green chiles
- 8 to 10 oz Oaxaca cheese (or a similar melting cheese)
For the Batter
- 6 large eggs, separated
- 2/3 cup all-purpose flour
- 1 tsp salt
- 1 tsp garlic powder
For Frying
- Vegetable oil, for frying
For the Sauce
- 5 medium tomatoes (Roma or any fresh variety)
- 1 small white onion
- 5 garlic cloves
- 2 tbsp chopped cilantro
- 1 tsp salt
- 1/4 cup sliced jalapenos (optional)
How to Make Cheesy Hatch Chile Rellenos
Step 1: Broil the Chiles
Place the Hatch green chiles on a foil-lined baking sheet. Broil them for 5-10 minutes until the skins are blackened and blistered in spots. Flip the chiles and broil for another 5-10 minutes to blacken all sides. Remove from the oven and transfer them to a gallon-sized ziplock bag. Allow them to steam for 10-15 minutes; this step will make peeling easier.
Step 2: Prepare the Chiles for Stuffing
Once cool enough to handle, gently peel off the skins from each chile. Cut a slit down one side of each chile and carefully remove the seeds. Generously stuff each chile with Oaxaca cheese or another melting cheese. Use 1-2 toothpicks to seal each chile closed.
Step 3: Prepare the Batter
Separate the egg whites into one mixing bowl and place yolks in another cup. Beat egg whites at high speed until stiff peaks form. Lower speed and slowly incorporate yolks into egg whites until light and foamy.
Step 4: Set Up Coating Station
In a shallow dish, combine all-purpose flour, salt, and garlic powder. This mixture helps ensure that batter sticks well during frying. Arrange an assembly line with stuffed chiles, flour mixture, and egg batter.
Step 5: Fry the Chiles
Heat vegetable oil in a deep pan until it reaches 350°F (175°C). Dredge each stuffed chile in flour mixture first, then dip it into egg batter until fully coated. Carefully place each chile in hot oil; fry for 2-3 minutes on one side before flipping and frying another 2-3 minutes until golden brown all over. Fry in batches to prevent overcrowding; drain on paper towels.
Step 6: Make the Sauce
Blend tomatoes, white onion, garlic cloves, cilantro, salt (and jalapenos if using) until smooth. Transfer this mixture to a medium saucepan over medium heat until boiling; then lower heat to simmer until ready to serve.
Step 7: Serve Hot
Plate your hot fried chiles rellenos immediately with the prepared red sauce from Step 6. Feel free to add salsa verde or Mexican crema on top if desired! Enjoy your freshly made chiles rellenos while they’re piping hot!
How to Serve Cheesy Hatch Chile Rellenos
Serving Cheesy Hatch Chile Rellenos is an opportunity to get creative. These delicious stuffed chiles can be enjoyed in various ways that enhance their flavor and presentation.
With a Fresh Salad
- A light green salad made with mixed greens, cherry tomatoes, and a tangy vinaigrette pairs wonderfully with the rich flavors of the chiles.
Topped with Salsa Verde
- Drizzle some fresh salsa verde over your chiles for an extra layer of flavor. The tartness complements the cheese perfectly.
Accompanied by Mexican Crema
- A dollop of Mexican crema adds a creamy texture that balances the heat from the jalapenos and enhances the overall taste.
Served with Rice
- A side of fluffy cilantro lime rice can round out your meal. The freshness of the cilantro pairs nicely with the cheesy filling.
With Guacamole
- Serve alongside a scoop of guacamole for a creamy contrast. The avocado’s richness enhances the dish’s flavors while providing a refreshing element.
How to Perfect Cheesy Hatch Chile Rellenos
To make your Cheesy Hatch Chile Rellenos truly outstanding, consider these helpful tips:
-
Choose Fresh Chiles: Select firm, bright green hatch chiles for better flavor and texture. Avoid any that appear wilted or have blemishes.
-
Use High-Quality Cheese: Opt for Oaxaca cheese or another good melting cheese to ensure that your filling is creamy and delicious.
-
Whip Egg Whites Thoroughly: Beating egg whites until stiff peaks form will help create a light batter that fries up beautifully, giving your chiles a nice crunch.
-
Maintain Oil Temperature: Ensure your frying oil is at 350°F (175°C). This helps achieve golden-brown chiles without absorbing too much oil.
-
Don’t Overcrowd the Pan: Frying in small batches allows for even cooking and prevents temperature drops in the oil, which can result in soggy chiles.
Best Side Dishes for Cheesy Hatch Chile Rellenos
Complementing your Cheesy Hatch Chile Rellenos with the right side dishes can elevate your meal. Here are some great options:
-
Mexican Street Corn: Grilled corn on the cob slathered in mayo, chili powder, and cheese provides a sweet and spicy contrast.
-
Refried Beans: Creamy refried beans add protein and fiber, making them a hearty side dish that pairs well with chiles.
-
Cilantro Lime Rice: Fluffy rice flavored with cilantro and lime brings freshness to balance out the richness of the stuffed chiles.
-
Black Bean Salad: A refreshing black bean salad with diced bell peppers, onions, and lime juice offers a crunchy texture alongside your meal.
-
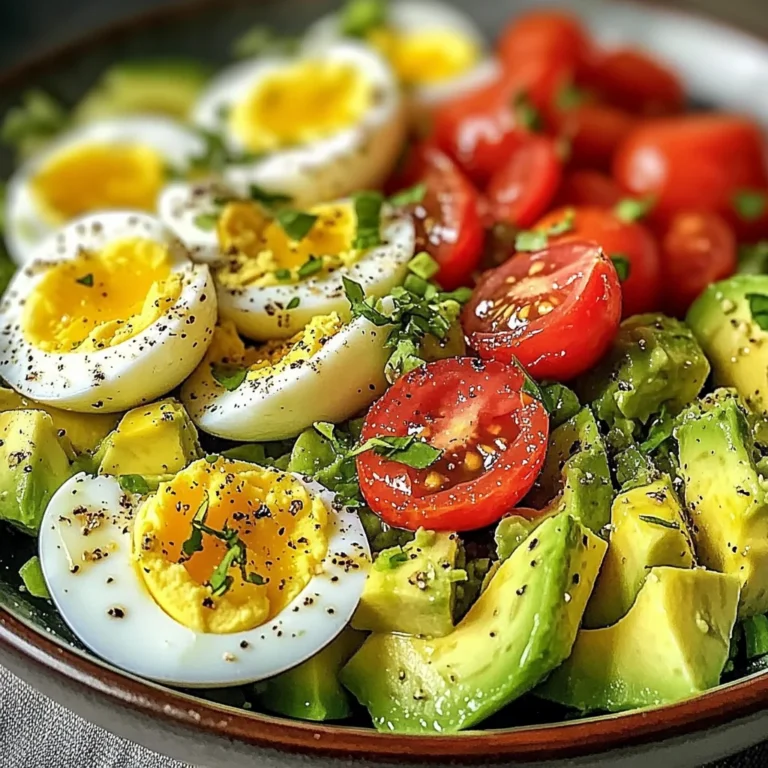
Avocado Salad: Sliced avocados tossed with cherry tomatoes and red onion create a cool side that’s perfect for cutting through the heat.
-
Grilled Zucchini: Lightly seasoned grilled zucchini adds a smoky flavor and complements the cheesy rellenos beautifully.
Common Mistakes to Avoid
When making Cheesy Hatch Chile Rellenos, it’s easy to encounter some common pitfalls. Here are some mistakes to watch for:
- Overcooking the chiles: Broiling the chiles for too long can cause them to become mushy. Watch closely and remove them once they’re blistered and blackened.
- Not peeling the chiles properly: If you skip steaming the chiles after broiling, the skins will be hard to remove. Always steam them in a bag for easier peeling.
- Filling too little: Under-stuffing chiles can lead to a lack of cheesy goodness. Make sure to pack them generously with cheese for maximum flavor.
- Skipping the batter: Some might think they can fry the chiles without batter, but this is essential for that crispy texture. Don’t skip this step!
- Crowding the frying pan: Frying too many chiles at once can lower the oil temperature, leading to soggy results. Fry in small batches for crispiness.

Storage & Reheating Instructions
Refrigerator Storage
- Store leftover Cheesy Hatch Chile Rellenos in an airtight container.
- They will keep well in the refrigerator for up to 3 days.
Freezing Cheesy Hatch Chile Rellenos
- Wrap each stuffed chile tightly in plastic wrap or aluminum foil.
- Place wrapped chiles in a freezer-safe bag or container; they can be frozen for up to 2 months.
Reheating Cheesy Hatch Chile Rellenos
- Oven: Preheat your oven to 350°F (175°C). Place the chiles on a baking sheet and heat for about 15-20 minutes until warm.
- Microwave: Heat one chile at a time on a microwave-safe plate for 1-2 minutes or until heated through.
- Stovetop: Reheat in a skillet over medium heat, flipping occasionally until warmed throughout.
Frequently Asked Questions
If you have questions about making Cheesy Hatch Chile Rellenos, you’re not alone! Here are some common queries:
What cheese is best for Cheesy Hatch Chile Rellenos?
Oaxaca cheese is ideal because it melts beautifully. You can also use other melting cheeses like Monterey Jack or mozzarella.
Can I make Cheesy Hatch Chile Rellenos ahead of time?
Yes! You can prepare and stuff the chiles ahead of time, then refrigerate them until you’re ready to fry.
How do I know when my chiles are done frying?
Fry until they are golden brown all over, which usually takes about 4-6 minutes total. Keep an eye on them as frying times may vary.
Are there any variations I can try?
Definitely! You can add different spices or mix in ingredients like cooked ground turkey or vegetables into the cheese filling.
What should I serve with Cheesy Hatch Chile Rellenos?
These delicious chiles pair well with rice, beans, or a fresh salad. Enjoy with salsa verde or a dollop of sour cream!
Final Thoughts
Cheesy Hatch Chile Rellenos are a delightful dish that combines crispy fried peppers with gooey melted cheese. Their versatility allows for endless customization—add your favorite spices or even mix in veggies! We encourage you to try making these flavorful chiles at home; they’re sure to impress family and friends alike!
Cheesy Hatch Chile Rellenos
Delight in the irresistible flavors of Cheesy Hatch Chile Rellenos, a dish that perfectly balances crispy textures with gooey cheese and the smoky essence of roasted hatch chiles. This recipe is designed for everyone—from novice cooks to seasoned chefs—making it a wonderful addition to family gatherings, dinner parties, or casual weeknight meals. Each stuffed pepper bursts with flavor and can be customized to suit your preferences, whether you prefer extra spice or savory toppings. Pair these cheesy delights with a fresh salad or zesty salsa for a complete meal that’s sure to impress.
- Prep Time: 30 minutes
- Cook Time: 15 minutes
- Total Time: 45 minutes
- Yield: Serves approximately 4
- Category: Main
- Method: Frying
- Cuisine: Mexican
Ingredients
- 8 hatch green chiles
- 8 to 10 oz Oaxaca cheese (or similar melting cheese)
- 6 large eggs, separated
- 2/3 cup all-purpose flour
- 1 tsp salt
- 1 tsp garlic powder
- Vegetable oil, for frying
- 5 medium tomatoes
- 1 small white onion
- 5 garlic cloves
- 2 tbsp chopped cilantro
- 1 tsp salt
- 1/4 cup sliced jalapenos (optional)
Instructions
- Broil hatch chiles on a baking sheet until skins are blistered, then steam in a ziplock bag.
- Peel skins, remove seeds, and stuff each chile with cheese.
- Beat egg whites until stiff peaks form; fold in yolks.
- Prepare flour mixture with salt and garlic powder.
- Heat oil; coat stuffed chiles in flour and egg batter before frying until golden brown.
- Blend sauce ingredients until smooth and simmer until heated through.
- Serve hot with sauce drizzled over chiles.
Nutrition
- Serving Size: 1 stuffed chile (approximately 150g)
- Calories: 320
- Sugar: 2g
- Sodium: 580mg
- Fat: 23g
- Saturated Fat: 8g
- Unsaturated Fat: 14g
- Trans Fat: 0g
- Carbohydrates: 20g
- Fiber: 2g
- Protein: 12g
- Cholesterol: 210mg
